How to do slow shutter speed photography?

Slow shutter speed photography can be done through the following procedures :
- Adjusting your shutter speed,
- Using a high ISO,
- Panning, and
- Chrono photography.
Shutter Speed
When the subject is moving quickly, to take a shot of it to select a fast shutter speed. Utilize a shutter speed that is at least 1/500th of a second or higher. Fast shutter speeds may produce underexposed photographs as these limit the amount of light that comes into your image sensors.
Select a low f-stop to increase the aperture. This action will assist you to counter the low light you get from the fast shutter speed. Use a flash with your motion shots to counter the low light conditions when you use faster shutter speed.
Use a High ISO
By using a high ISO, you could increase the shutter speed and aperture of your camera and decrease the likelihood of getting blurry or dark photos. If you do use high ISOs, you could get a grainy picture that has a lot of digital noise.
Panning
With panning, you will follow a moving object with your camera to get slow capture photography.
Chrono Photography
This type of photography allows you to depict movement by capturing several frames of a moving subject and then showing them alongside each other to imply successive phases of motion. To take successful Chrono photographs, use a tripod and set your camera to shoot continuously. Join these photographs together in post-production.

What is Slow Shutter Photography?
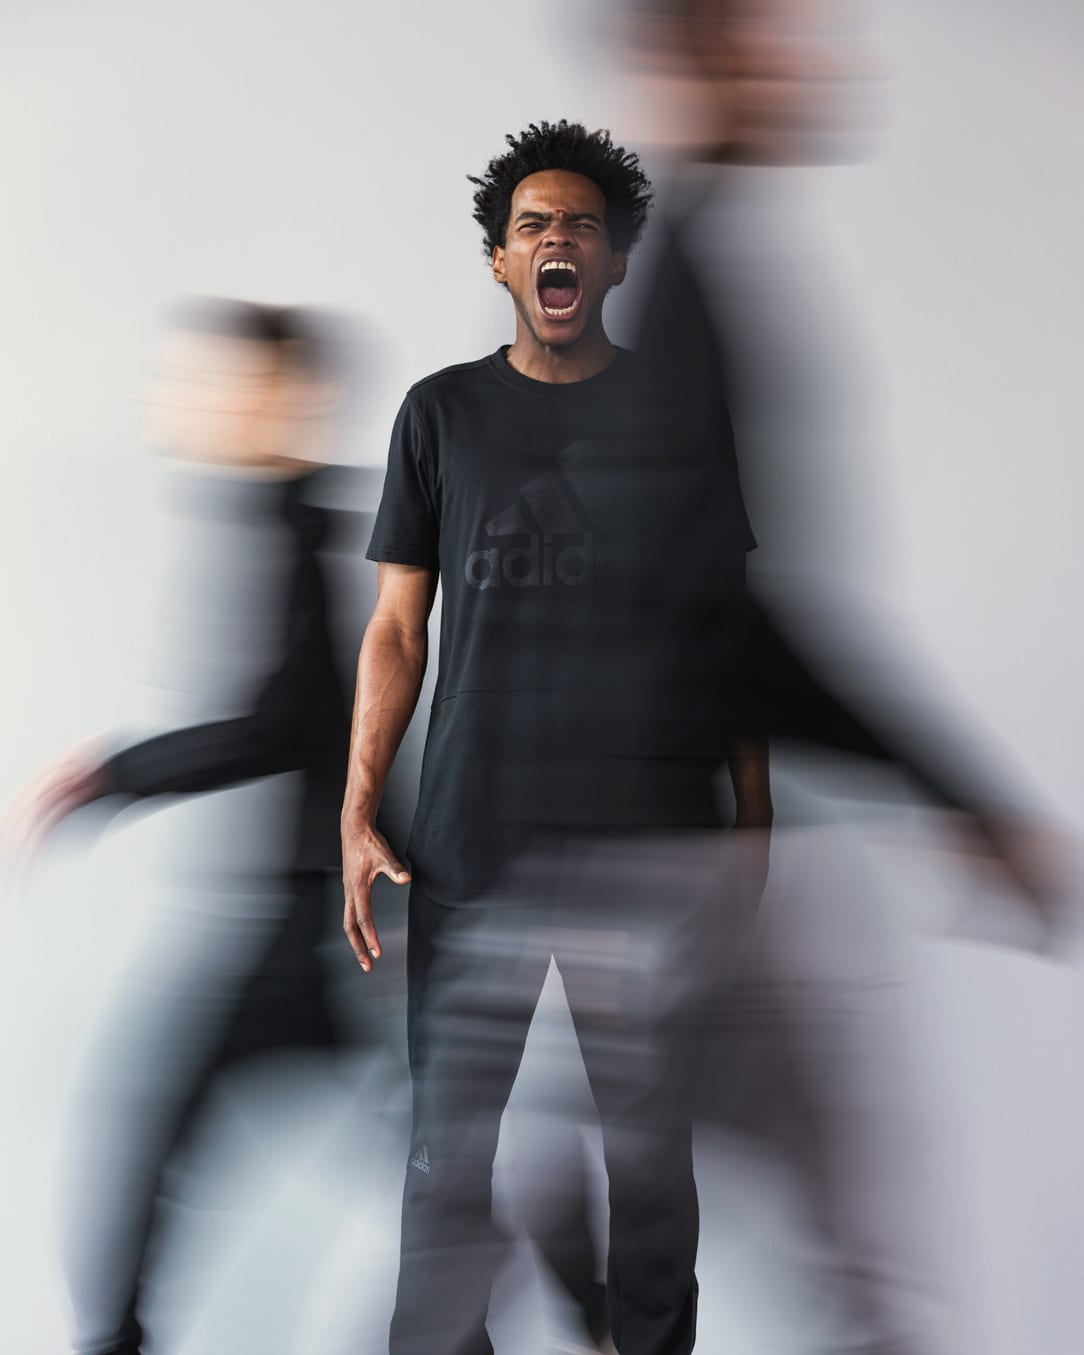
Slow shutter photography is a technique in which the camera’s shutter is left open for a long time to take advantage of how a longer exposure time blur moving subjects and captures moving points of light.
Slow shutter photography techniques
Here are some techniques used for slow shutter techniques.
Technique 1: Motion blur
‘Motion blur’ occurs when an object moves so quickly, in terms of the shutter speed of the camera, that it appears as a blur. This blur can happen accidentally with unwanted results, such as when a portrait subject moves just as the shutter goes off. Use the same effect to your advantage: control your shutter speed, and suddenly motion blur becomes your tool for expressing movement.
Shutter speed
Start with 1/10 second if you are not sure where to start. The correct shutter speed to use will depend a lot on how fast the subject is moving. The 1/10 second speed creates enough blur even if the subject is walking and keeping your background still. However, make sure that image stabilization (IS Mode) is on, the camera is steady, and the telephoto end of the lens is not used.
ISO speed
Use ISO on ‘auto’ if you’re not sure about how to adjust the speed yourself.
Focus
Focus the camera on the background of your shot. Alternatively, pre-focus on the spot where the subjects will walk. The area that you focus on will be still while the other parts of the image will be blurred.
Technique 2: Panning
Panning keeps the subject relatively sharp while the background is blurred.
Shutter speed
To start with, try 1/10 second shutter speed.
Move the Camera in Sync with The Subject
In slow capture, photography panning needs you to have a lot of stability and coordination. If the speed at which the subject is moving matches the speed at which you pan the camera, the moving subject will seem to be still, and the still background will appear blurred. This technique is perfect for creating a sense of speed.
Focusing
With this technique, you want your subject to look relatively sharp, which means your focus must be on the subject. You can do this by:
Option 1: Using the same pre-focus technique
- Step 1: Envisage, where the subject will pass. Focus on that location.
- Step 2: Keep the shutter button pressed down halfway as you wait for the subject to approach. However, if this is difficult, switch your camera to manual focus because this locks the focus.
- Step 3: When the subject goes into the spot, depress the shutter fully.
Option 2: Utilizing your camera’s AF tracking function
If you have a newer, higher-end camera, you can customize the tracking characteristics to suit the subject and scene. On some older camera models, tracking might not work as well for certain scenes.

Technique 3: Long Exposure
Shutter Speed
To capture the appearance of light trails have a shutter speed of at least 1/15th of a second.
Aperture
Use some combinations of settings to achieve the same exposure. Each of these settings also influences other image properties. For example, aperture affects the field, shutter speed affects motion blur, and ISO speed affects image noise.
ISO Speed
For optimal results, set the camera to B “Bulb” shooting mode and your aperture between f/2.8 – f/4. Press the remote to open the shutter. Maintain your ISO at 100 to preserve the digital noise at minimal levels.
Flash
If you are doing with slow shutter speed photography, the camera will not prevent you from setting shutter speeds, which are so slow that too much light enters the camera and results in a completely overexposed shot. This example means that you need to be careful when using a flash with long exposure photography.


Recent Comments