More and more these days, photographers are venturing into the world of shooting video. On many cameras, it’s often a simple turn of the dial to go from 24mp raw stills to broadcast quality 4K video. While footage is easy to shoot, turning it into something a little more creative, involves editing.
In the past, video editing software was hugely complicated and hideously expensive. The rise of home-produced video, however, has spurred on innovative thinking on how a modern editing program should work.
The New Age Of Editing Software
Final Cut Pro X from Apple was perhaps the first of the non-linear editing apps that broke the mould, but several others have followed it. The problem is that many of these editors remain quite expensive. Adobe Premiere Pro, regarded as one of the best, costs a minimum of $21 per month on a subscription-only basis. Final Cut Pro X costs $300 one off and Avid Media Composer $20 a month.

For the photographer that wishes to dabble occasionally in creative video editing, these prices are quite steep. There are, of course, cheaper products, but they do not contain anywhere near the level of tools of their professional counterparts.
DaVinci Resolve 16
DaVinci Resolve is regarded as one of the very best non-linear editing programs available. It is extraordinarily powerful, containing all the tools a Hollywood editor would need. It has a steep learning curve, but this is common to all professional editing apps.
Over recent incarnations, it has become more and more powerful, yet the user interface has improved immeasurably. With a little YouTube study, it’s now pretty easy to become competent in. The best part of all is that it’s entirely free.
A Little History Of Resolve
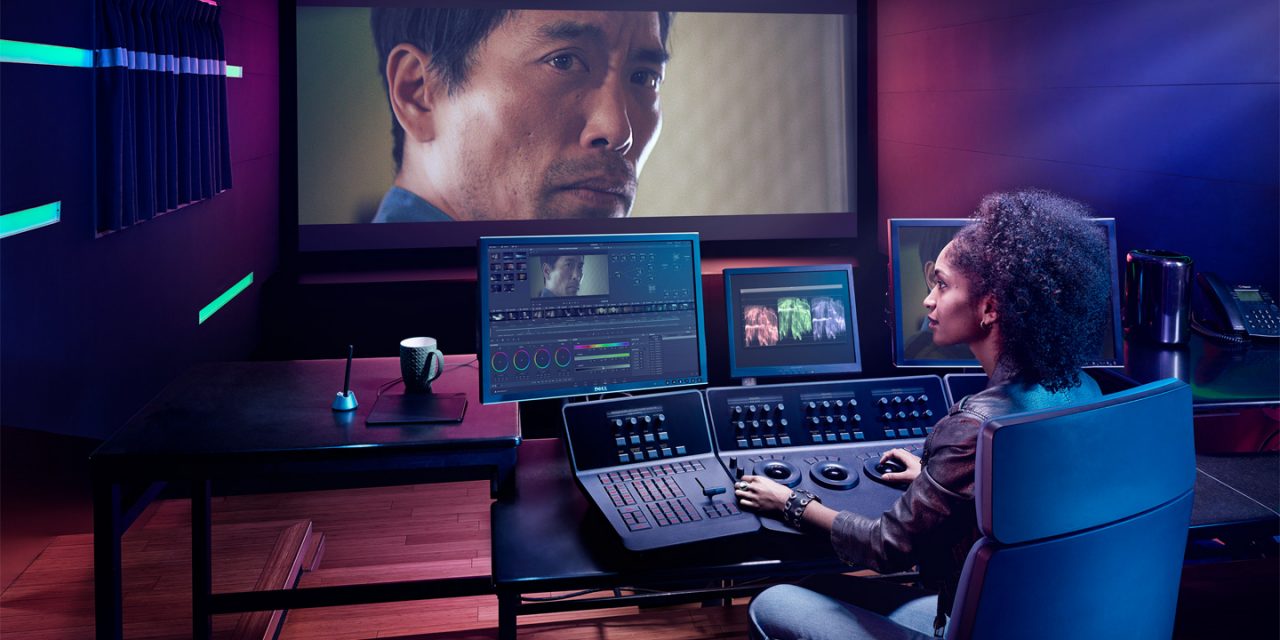
DaVinci Resolve is created by Blackmagic Design. It was initially designed more as a colour grading tool to fit Blackmagic’s professional editing hardware. In June 2011, Blackmagic released DaVinci Resolve 8 Lite. This was a free, cut down version of the main commercial program.

Over subsequent incarnations Blackmagic added back in many of the missing functionality, eventually dropping the “lite” version and making the full version free.
The DaVinci Resolve Interface.
Once you have downloaded, installed and opened Resolve, you will be required to adjust a few settings to suit your hardware. When you open it for the first time to work, you will be shown the projects database window. Here you can open an existing project or create a new one.
When you create a new project, Resolve will open into an empty suite ready for adding media. The first thing you will need to do is to adjust the project settings. This is done by clicking the gear icon bottom right of the interface. For newcomers, the most important aspect of this window is setting your timeline resolution and frame rate. This will be the resolution and fps that you want your final movie to be.
The concept of DaVinci Resolve is to use a logical workflow, denoted by seven tabs at the bottom of the main interface. Let’s go through the most important ones.
Media.
This is where you add the video, stills and audio to the project. You can do this either directly from hard drives, by ingesting from a camera or a card reader. All the clips will be shown in the media pool, and you can preview them and add metadata such as keywords.

Cut.
Cut is the new kid on the block when it comes to DaVinci Resolve. It allows you to do very quick basic edits and automatic corrections when you are on a tight deadline. You can add basic transitions, crop and ramp the speed all in a simple to use interface. It’s designed for news reporters or Youtubers that need to get video productions out quickly.
Edit
The Edit tab is the main part of DaVinci Resolve, where you will spend much of your time. Here you will put together your film, using both basic and advanced editing tools. You can have multiple layers to the timeline, change opacity between them, move clips around by dragging and dropping. It is a very advanced, powerful editor that takes some learning but will open up a diverse range of creativity for your film projects.
The next tab is Fusion. We will not look at these other than to say it’s DaVinci’s version of Adobe After Effects, allowing you to create all sorts of video graphic effects.

Color
This is where DaVinci started and is extremely powerful. It is the color grading section of the app and provides a plethora of tools and scopes with which to adjust exposure, contrast and colour. You can also stabilise footage here as well as mask and track objects. For photographers familiar with curves, you can even adjust your footage using them.
Although initially overwhelming, the basic color editing tools are relatively simple to use, and you can copy and paste a correction from one clip to the next.


Deliver
The final tab is where you output the final video. You can share directly to most of the major video hosting sites such as YouTube and Vimeo, or you can output directly to a movie file. There are a plethora of options to choose from – from size, resolution and bitrate.
One handy feature, especially for those producing video stock, is the ability to export all clips on a timeline as individual files. This gives a very nice workflow for those that submit to stock libraries.

DaVinci Resolve can be complex, but that complexity is part of its power. It is used by all levels of editors from bedroom Vloggers to Hollywood studios. Given the level of features it has, the price of $0 makes it probably the best value product in media today. With a little YouTube study, you should quickly pick up the basics of this amazing editing app.
Source : https://www.lightstalking.com/davinci-resolve-guide/
Muhammad Yusuf Faizal
NRP : 4103191028_1 MMB A


Recent Comments