When’s the best time for photography? When others are sleeping.
Yes, yes, that extra two hours or so in the morning may be tempting. But don’t fall victim to the siren song of sleep – this really is the best time of the day to photograph.
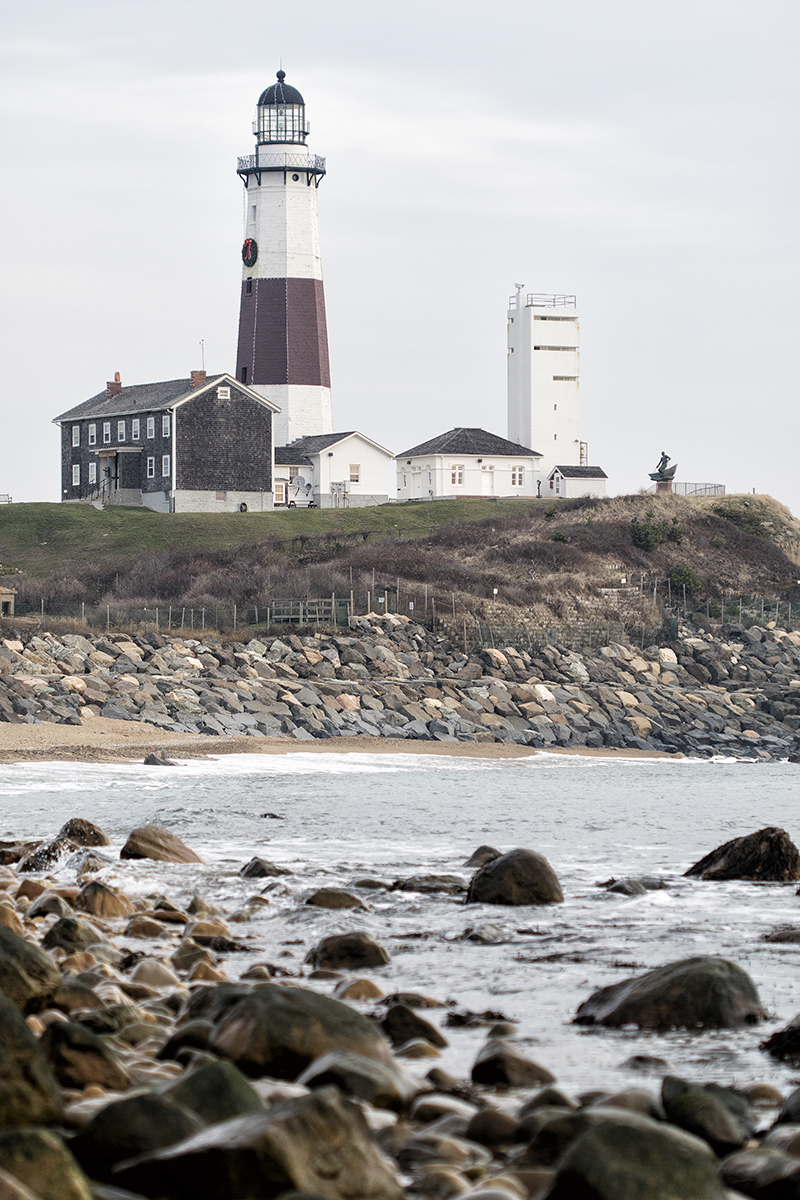
Here’s a shot of a beloved Long Island landmark – the Montauk Point lighthouse. At 8 a.m., it’s quite a majestic site, and this used the rule of thirds and layering to create a detailed photo with the water, rocks and lighthouse in one frame.
But one hour earlier? It looked like this:
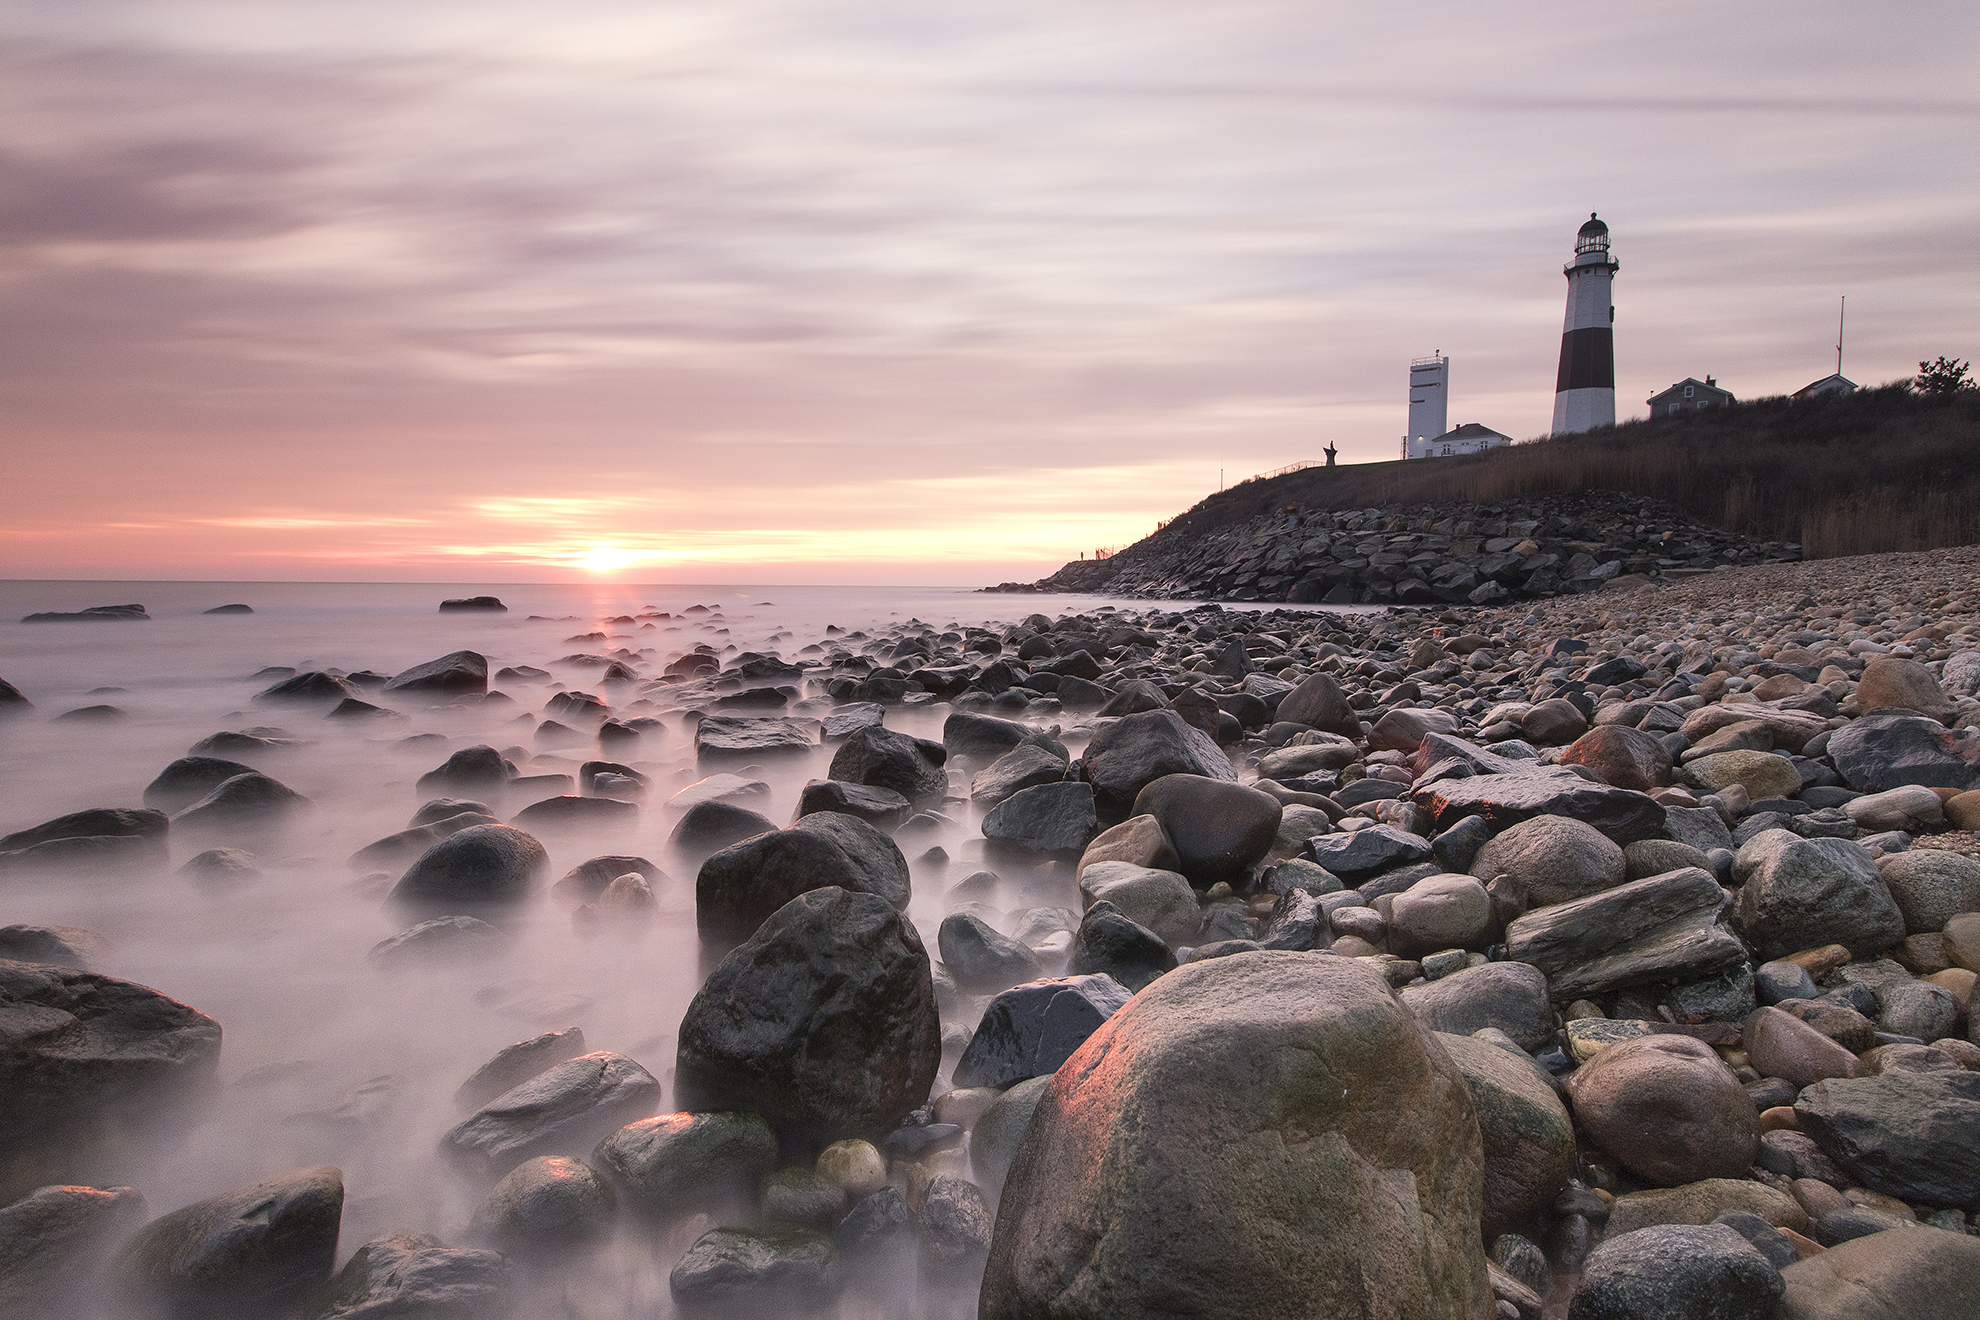
Big, big difference in light – worth getting up for, right? If you’re deciding to wake up early and give this a try, here are some tips and tricks to make sure you make the most of the sleep sacrifice.
Tip #1 – Bring a flashlight
The photografer was out there at 5 a.m. or so. At that hour, you’re likely to trip over a rock or something if you don’t have a flashlight. That would end your shoot very quickly. The flashlight is also useful to change the settings on your camera – in the morning hours, the light and the sky change very fast, so from one shot to the next you may have to make quick changes in near darkness.
Tip #2 – Bring a tripod
You’ll likely be starting your shoot when it’s dark. This will require some long exposure times, far greater than what you can hand-hold. Having a tripod will allow you to freely compose without worrying about noise from high ISOs or camera shake from slow shutter speeds. As a bonus, it will allow you to bracket your exposures more easily, so that you can expose for the foreground and the sky and combine multiple shots into one High Dynamic Range image.
Tip #3 – Bring a neutral density filter (preferably a graduated one)
The brilliant morning sky can overpower a sensor’s range quite easily, resulting in blown highlights and washed-out colors. A neutral density filter acts like a pair of sunglasses for your camera. A graduated neutral density filter has half the filter darker than the other so that the camera can expose for the sky while keeping foreground shadow details. You attach these filters (with an adapter) to front of the lens. This allows you to fine-tune the exposure in situations with fast-changing light (like sunrise!).
So turn your ordinary scenes into extraordinary ones – just by changing up the time of day you go out to shoot.


Akan lebih bagus kalau disertai contoh2 foto.