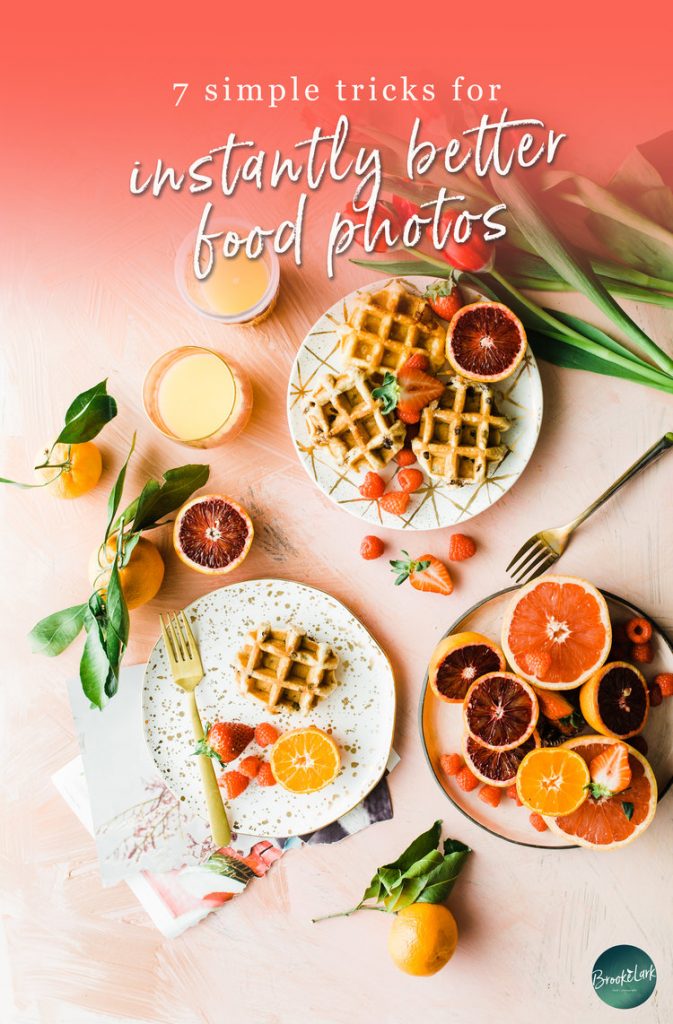
So you take photos of food–whether you’re out at restaurants or documenting family dinner. But the pictures end up looking blah? Yeah. There are all sorts of secrets to taking stunning food shots. Food can be finicky. Capturing the colors, the smells, the textures, the tastes is an art unto itself. But fear not, it doesn’t take endless years of practice to perfect food photography. There are a few quick tricks that will instantly unlock some of the secrets pro’s use to make their images stand out. And I’m about to spill some of ’em.
Studio 5 KSL asked me to round up 5 top tips for a segment on beginning food photography. But it was too hard to narrow down to just 5. So whether you saw my Studio 5 Segment, or stumbled here from another site, here are SEVEN of the most important things to keep in mind when taking photos of food.
I designed the list as a checklist of sorts. If you’re about to prep a shot, start at the top of this list, and move on down. By the time you’ve considered all 7 points, considered colors and picked perfect props, you’ll be poised to capture an image that doesn’t just say “oh hey, I’m a piece of food.” It’ll scream “eat me, babyyy! Eat me!” to anyone on the other side of the screen.
And that, dear ones, is exactly what you want your food photos to do. Food is too fun to be boring, so read on for tips guaranteed to make them STUNNING.
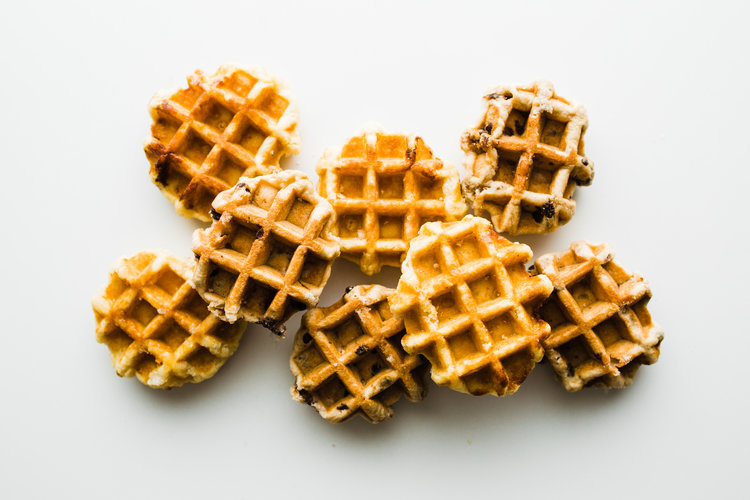
1. Pick Pretty Food To Shoot
Not all pictures are created equal. Some food is ugly and hard to shoot. (I’m looking at you: roasts, steaks and chicken wings.) So stay away from the tricky stuff at first. Choose exciting, beautiful food. Food with textures and swirls. Food with colors and vibrance. All of which makes for exciting, beautiful photos.
ADDED BONUS: You’ll be proud of your first shots, and more likely to keep practicing and getting better.
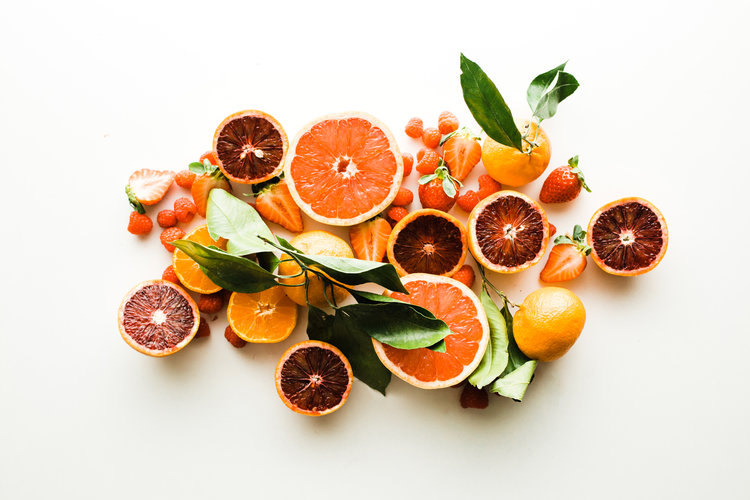
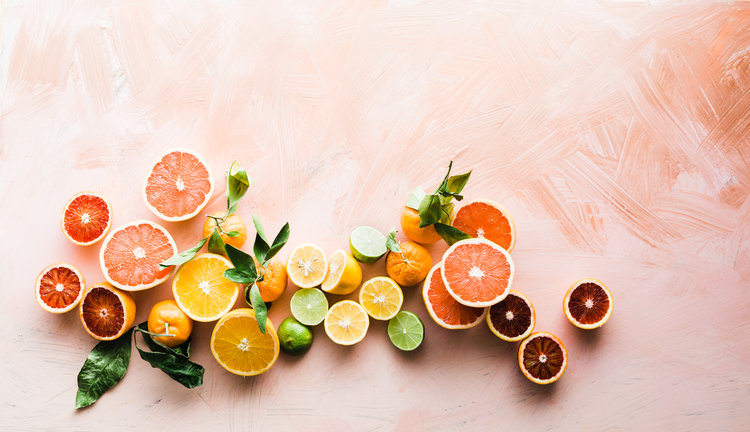
2. Pick A Color
I always say to start shooting on white. White background, white plates. That way, you can focus on the food, and not have busy props getting in the way. Eventually, I suggest moving to a carefully selected 1-2 COLOR PALETTE to guide your background & prop selections.
Match yellow food with yellow linens. Go with a coral colored tablecloth and red or orange plateware and props. Place brown plates on a brown table. A seamless backdrop will help the colors of your food stand out.
Look at a color wheel and use it to pick colors that are close to each other or complementary. I actually do this while deciding which ingredients to put in my dishes. But it’s also a great practice when you’re trying to choose items that will go together on a breakfast table shot, together on a plate, or placed atop a beautiful baked cake.
Color matters. Especially in food photography. Pay attention to the colors you choose, and keep them relatively simple (so your eye is calmed when looking at your shots, rather than darting around because of any number of harsh or contrasting color mixes)(sounds crazy, but it makes a big difference when you pick color wisely.)
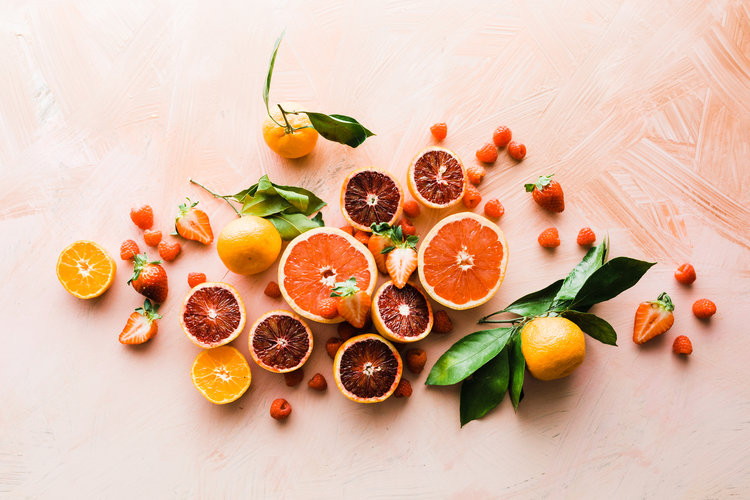
DESIGN TRICK: the color you select can be the OPPOSITE of your food. Brown food lile chocolate looks great with teal or blue!Report this ad
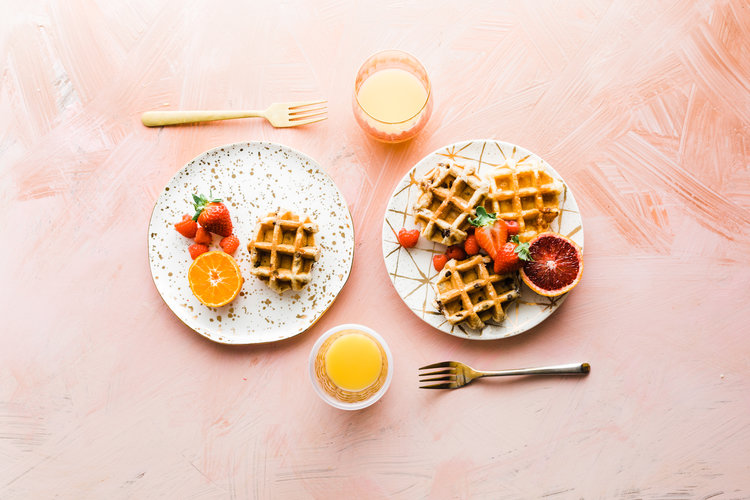
3. Tell A Story
Do you want onlookers to know imagine biting into a juicy burger at a slope-side resort?
Is the whole family sitting down for dinner? Are they invited to breakfast for two?
Photos of food are nice. But photos that capture stories are better. Decide what your story is, then arrange the photo to tell that story.
FOR THIS PHOTO ABOVE: We went with “Breakfast for 2” theme. Where one of those eaters obviously prefers a big platter of waffles. 😉

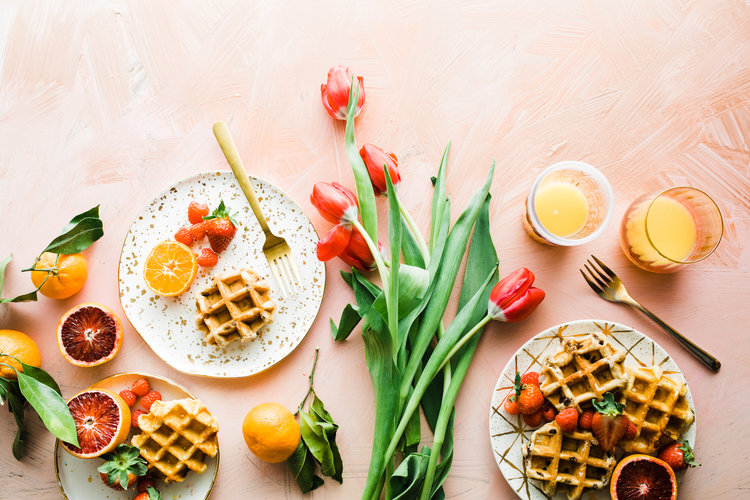
4. Add Some Life
Food on plates can be pretty stark. Two circles on a rectangle. So now we’re going to liven it up a bit. Add organic shapes, texture and greens. Add movement by sprinkling ingredients, biting into food, making it look like someone was just reading a newspaper at the table. Don’t be so worried about creating a perfect photo that you miss out on creating a life-filled picture.
5. Shoot With Back Light, Not Bright Light
Photography is all about light. Light tells your eye where too look. Too much (like bright sunlight) and parts of your image will just turn white and disappear. So you want to get near GLOWY, DIFFUSED light. (I use a $2 transparent Ikea shower curtain tacked over a window).
Now, stand back. Look where the light falls. And put the THING YOU WANT TO SEE THE MOST in that place where light is glowing the most. If that glow comes from the back or the side, even better, because it invite you INTO the photo, casts lovely shapes and shadows around the edges of your eats.
BONUS HINTS:
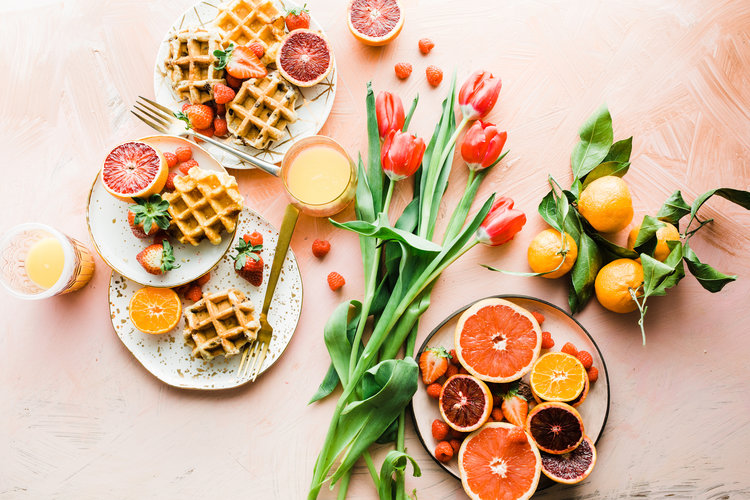
6. Arrange Something Unexpected
A lot of photographers use the rule of thirds to arrange their shots. The rule of thirds is great. It helps you make sure the thing your focussing on is in a place where your eye and brain naturally falls.
However, in our image-bombarded internet culture, we’re all wanting to see THINGS WE HAVEN’T SEE BEFORE.
Push plates off kilter, cluster ingredients or spread them out. Play, play, play.
Then, before you push the shutter, make sure you PICK ONE THING TO FOCUS ON. Too many photographers see a scene and want to capture it. But you brain works differently that your camera. TELL YOUR CAMERA where to look, what the most important thing is to focus on. Then capture THAT ONE THING. And the rest of the shot will fall into place.
(In the photo above, I decided to focus on the waffle on the TOP PLATE. Once that became my focus, I moved props around until the FRAMED that waffle, didn’t distract from it. And I moved my body and camera until the waffle was an angle I liked. Then, click. The photo was captured with waffle as star. All the rest of the scene sitting there to prop the shot…well, that was just gravy.)
7. Look Through The Lens
Ever arranged something on a table–boom! it looks amazing! Then you pull out your camera, click the shutter….and somehow the magic is lost? It looks like some granny piled a bunch of rando things onto a ratty old table. And darn it, if nothing looks as amazing as it does in real life?
That’s because your camera sees things differently that your eye does.
Before your take a picture, start looking through your camera FIRST. THEN set up your shot so it looks good in the FRAME. Don’t be afraid to move things until they look great IN THE CAMERA FRAME. Picky photographers move themselves to get the perfect angle, or they move items. Go for it! Move things around until they look GREAT in the frame of your camera.


Recent Comments