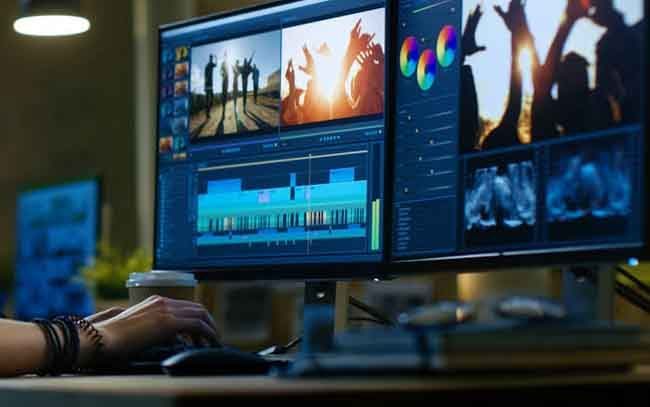
Heloo.. welcomback to your favorite podcast, zahra’s podcast. Today I want give a tutorial that can be really tried especially, for those of you who like the world of videography. I will tell you how to edit video in adobe premier pro for beginner. Let’s go through it step by step now.
#1 Create a New Project
Launch the program and click on New Project button on the left. A new window opens – write any name of the project on the top. After clicking Browse, it allows you to change the folder where the project will be saved. I leave all other settings on default and click OK at the bottom.
#2 Import Video Clips
You have multiple options how to get your desired video files to Premiere Pro. The way is just to drag them from your file browser, directly to the timeline (right bottom quadrant of the program). Another way is to import the video clips through Media Browser in the program. Go to the left bottom quadrant and switch to Media Browser tab.
#3 Work with Video Files in the Timeline
When I finish importing my video clips to the program I adjust the size of the timeline. I make the space for the timeline bigger by dragging its left border. This helps a lot when you work with the clips in the timeline.
Move Video Clips
The basic thing I do is organizing the clips to the desired order. I use different tools on the left side, right next to the timeline. One of the most often used is Selection Tool. Go to the timeline and click on the clip which you want to move. Then simply drag it anywhere you want.
Split Video Clip
If you need to split one video clip into two parts, use the Razor Tool. Click anywhere in the desired video clip where you want to make your cut.
Slow Motion and Fast Forward
Right above the Razor Tool, find the Rate Stretch Tool. It stretches the particular video clip to the desired time length. Select the tool, click on the clip and drag the end of the clip. Remember, that you need to make a space for it first if you want to make the clip longer (slow motion). Use Track Select Forward Tool to move all the clips and make the space. After stretching the clip you will see how much the speed changed.
#4 Keyboard Shortcuts
When you want to use any tool you can just use a keyboard shortcut. It might seem a little overwhelming to remember the shortcuts but don’t learn all of them now. Edit your videos and notice which tools you use the most often. Learn 3 or 4 shortcuts at first and start to use them frequently. Later, add more.
Examples of the shortcuts for the tools I described and personally use the most often:
- “V” for Selection Tool
- “A” for Track Select Forward Tool
- “Shift + A” for Track Select Backward Tool
- “C” for Razor Tool
- “R” for Rate Stretch Tool
#5 Adjusting the Timeline
Even more useful shortcuts are “+” and “-“. These keyboard shortcuts allows you to zoom in and zoom out in your timeline (seeing smaller or larger portion of it). It is much faster then using your mouse and trying to drag the bottom slider to make it happen.
#6 Cutting Video Clips
Let’s see how to cut out the parts of the video clip which you don’t want. Choose Selection Tool or press “V” on your keyboard. Find the place in the timeline where you want to make the cut. Then drag the end of the video clip to this desired place. Premiere Pro will delete the not needed part of the video and create a free space in the timeline. You can remove it by clicking into this free space and pressing “Delete”.
#7 Adding Music
Import chosen music file to the project as you imported the video clips. Drag it directly to the timeline right under the video clips. Or import it through Media Browser in the left bottom part of the program. You might need to adjust the music length or cut some parts of it out. You can cut the audio same way you cut the video. For example, I shortened my music to match the length of the video. First, I clicked on Selection Tool or pressed “V” on my keyboard. Then I dragged the end of the audio to the desired position.
#8 Transitions (Fade Out Effect)
My videos usually end with a fade out effect.
Make sure you use the Selection Tool. Then hover above the end of the video, make a right-click and choose Apply Default Transitions. You can also adjust the length of this transition. Make a right-click on the transition and then click Set Transition Duration. Then write the desired time in seconds.
#9 Title
You might want to add a title with the name of the project or with credits at the end of the video. Click on Title in the top menu, then New Title and Default Still…
A small window appears where I leave everything on default values and click OK. A large window opens and here you have countless options. At the top, choose the type of the title, size, alignment etc. At the right side, you can change more advanced features, like color, shadows, contours, background and much more. In case you are overwhelmed by all these options, choose any preset you like at the bottom. Then you need to click on the Type Tool at the top left corner. Click to the place where you want to start writing the title. Make sure you click on the black space within the white boundaries. If you would write too much to the sides over these white lines your title might be cut. Center your title vertically and horizontally if desired by the tools on the left side (Vertical Center and Horizontal Center). When you finish your title, close this window by clicking the red cross at the top right corner. This will automatically import your title to the project. Now you need to drag it from Project window to the timeline to any place you want. This will create a title over your video.
#10 Color Correction & Color Grading
You might notice that the colors in your video are a bit off. They look differently in reality and in the video. For example, what was purely white is slightly yellow in the video. Or you might need to make the video darker, reduce highlights, add saturation etc. Before you apply one correction at a time, you might want to try presets (hard work done by one click). Go to the left bottom quadrant in the program and switch to the tab Effects.
Next useful feature is Exposure – change it if your video is too dark or too light.
I also play with Shadows, especially if I shoot during a midday and the shadows are too harsh. I often adjust also Highlights, Whites, Blacks and Saturation.
Under Basic Correction group of sliders, you can find Creative with many other options. I sometimes change Vibrance.
Tip: I recommend you to move those sliders back and forth and learn what they do with the video. Next time, you will know which one to use.
#11 Export Video
Your video is finished and waits for the last step – export. You must click in the timeline space first. Then go to the top menu and choose: File > Export > Media… Window with Export Settings opens. Check if the Format is set to the option H.264 (for most of the regular videos).
Export settings
You can change the name of the exported file and choose the location folder. I usually leave most of the other options set to default values. In the bottom section, I check Use Maximum Render Quality.
Finally, click on the Export button. The whole process usually takes at least several minutes depending on how long my video is.
That’s it! I recommend to start editing your video with these basic skills. Thanks for hearing my podcast. Make sure you never miss a show by clicking the “subscribe” button now. This podcast is made possible by listeners like you – thank you for your support.
Link : https://www.filmingfamily.com/how-to-edit-video-in-adobe-premiere-pro/


Recent Comments